
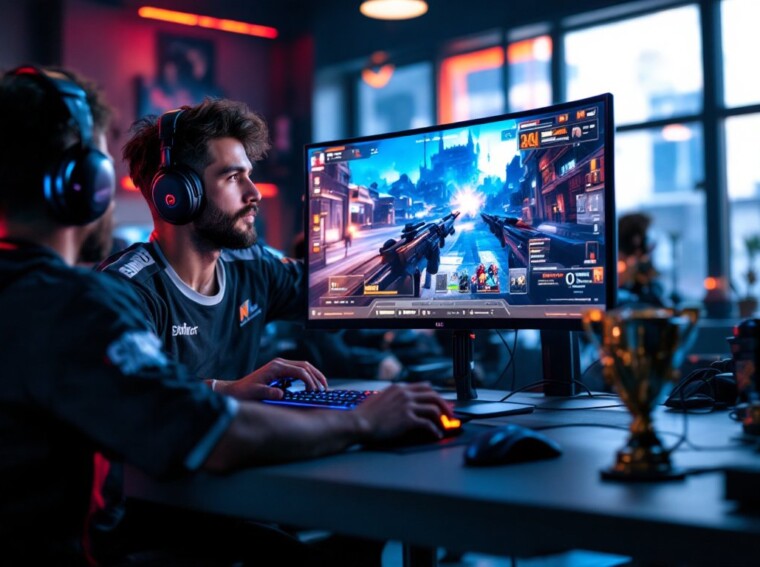
Call of Duty: Warzone 2 has cemented itself as one of the most competitive battle royale shooters on the market. Whether you’re diving into your first match or grinding toward tournament-level play, understanding the core mechanics, weapon balance, map positioning, and team coordination, separates winners from the lobby filler. This guide walks you through essential loadout builds, strategic positioning on high-value zones, and communication tactics that top squads rely on to secure consistent wins across all platforms.
Key Takeaways
- Call of Duty: Warzone 2 rewards players who master weapon loadouts, map positioning, and team coordination as the core fundamentals of competitive play.
- Optimal loadouts pair a stable assault rifle with a fast-TTK SMG, using recoil-control attachments and mobility-focused perks to dominate both mid-range and close-quarters engagements.
- Landing in high-value zones like Downtown and Airport accelerates weapon progression and early eliminations, while secondary zones help newer squads safely farm kills and gather loadouts before main action.
- Map control hinges on playing edge positions, high ground, and power locations near solid cover to avoid sniper exposure and third-party scenarios.
- Squad wins depend on landmark-based communication callouts, defined player roles (shot-caller, overwatch, entry, support), and resource sharing to keep all teammates armored and ammunition-ready.
- Successful Warzone 2 gameplay requires methodical decision-making—push when you have positioning or numbers advantage, reset and re-engage from power positions when outgunned, and prioritize patience over panic pushes.
What Is Call of Duty: Warzone 2?
Call of Duty: Warzone 2.0 is the free-to-play battle royale successor that launched November 16, 2022, for PS4, PS5, Xbox One, Xbox Series X
|
S, and Windows. Developed by Infinity Ward and Raven Software, it integrates seamlessly with Modern Warfare II and later Call of Duty titles, meaning your progression and cosmetics carry across platforms thanks to unified progression.
The core experience revolves around three main modes: Battle Royale (the traditional 150-player drop), Resurgence (smaller-scale, faster-paced matches on tight maps), and Plunder (a PvE/PvP hybrid focused on cash collection). There’s also DMZ, an extraction-style mode that blends PvE objectives with PvP danger, you loot locations, complete contracts, and fight toward an exfil point before the zone collapses.
Cross-platform play is standard, so console and PC players compete in the same lobbies with consistent netcode and matchmaking. That’s the battlefield, now let’s talk dominance.
Essential Loadout Recommendations for Competitive Play
Competitive Warzone 2 demands loadouts built on a simple principle: one long-range primary, one close-range anchor. Your assault rifle handles mid- to long-range engagements, while an SMG or shotgun (via the Overkill perk) cleans up close. Meta weapons shift with patches, but the attachment philosophy stays constant: prioritize recoil control, visual clarity, and sprint-to-fire speed over raw damage numbers.
Your perk selection should support aggressive play while keeping you alive. A mobility perk speeds up weapon handling and ADS, a scavenging perk refills equipment or ammo, and a Ghost-type perk keeps you off UAV and heartbeat sensor radar. If available that season, grab a high-alert or awareness perk to catch flanks before they happen.
Attachments matter more than raw stats. ARs benefit from mid- to long-range optics, muzzles that tank recoil (compensators, monolithic suppressors), longer barrels for range extension, underbarrels for horizontal stability, and magazines tuned for squad-wipe capacity. SMGs want short barrels for mobility, recoil-taming muzzles, stocks that boost sprint-to-fire, laser attachments for hip-fire accuracy, and larger magazines for sustained close-quarters pressure.
Assault Rifle and SMG Combinations
Competitive loadouts typically pair a low-recoil AR with a fast-TTK (time-to-kill) SMG. This combo lets you engage at distance without sacrificing close-range lethality. Strong recent examples include pairing stable assault rifles like the TAQ-56 or RAM-7 with mobile SMGs such as the Vaznev-9K or Lachmann Sub, but pro player settings update weekly as patches shift balance.
When building your AR, dial in a VLK 4.0x Optic or similar mid-range scope for clarity at 40–80 meters. Attach a Kastov 762 10.24″ Spetsnaz barrel for effective range, a Stratus Pad underbarrel for recoil control, and a 30-round mag. This setup lets you contest long-range positions without blooming when enemies push.
Your SMG should prioritize handling. A 5mW Laser and FTAC Champion stock dramatically improve sprint-to-fire, letting you peek and punish sloppy approaches. Pair that with a PDSW 528 Precision barrel for mobility and a Merc Foregrip to tame vertical bounce in frantic fights. Magazine size depends on your confidence, 40 rounds handles most squad pushes, but some players run 50+ when anchor-holding objective areas.
Map Knowledge and Strategic Positioning
Warzone maps are designed to punish lazy positioning and reward teams that control space. Maps like Al Mazrah force constant rotation decisions: do you contest the high ground, rotate early toward the safe zone, or hold power positions until the last fight? The answer changes every match, but core principles remain.
Always play edge or power positions near high ground and solid cover. This means rooftops, interior building stacks, or ridgelines where opponents can’t flank you easily. Crossing wide-open areas without vehicles, smoke grenades, or nearby cover is a fast way to eat sniper rounds or get third-partied. Rotate early toward safe-zone centers when possible, sitting in the outer ring hoping the circle blesses you is a losing mentality.
Vehicle positioning matters too. Choppers and ground vehicles get you across danger zones quickly but announce your location loudly. Know where Buy Stations sit on your map and use them for armor plates, UAVs, and loadout drops. These are Intel gold for predicting enemy rotations.
High-Value Landing Zones
High-value zones pack dense loot (weapon crates, cash, killstreaks), Buy Stations, nearby vehicles, and strong building architecture (rooftops, multiple exits, good sightlines). But they’re also hotspots, expect early fights, faster weapon progression, and immediate squad wipes if things go wrong.
Zones like Downtown, Airport, and Water Treatment historically draw aggressive squads because the loot-to-risk ratio is steep. Landing in these areas works if your squad is confident in early combat. You’ll burn through ammo, swap weapons constantly, and face 2–3 teams before looting properly. The payoff is fast armor stacks, quality weapons, and early eliminations that pad your stats.
If your squad is newer to Warzone 2, land in secondary zones, places with decent loot, fewer immediate threats, and clear sight lines for practicing positioning. Farms, suburbs, or smaller industrial areas let you farm kills and gather loadouts before hitting the main action. Competitive teams often land hot first, farm kills, then rotate toward the closing zone where third-party chaos favors skilled teams.
Team Communication and Squad Tactics
Communication separates squads that win consistently from those that stumble through matches. Use short, landmark-based callouts tied to map geography or the ping system. “Two at the water tank” beats “enemies northeast”, it’s specific and immediately actionable. Designate in-squad roles before dropping: one player shot-calls (IGL), another covers overwatch angles (sniper role), one entries fights first, and one supports by anchoring flanks or reviving.
Resource sharing is non-negotiable. Drop plates, ammo, and cash liberally so everyone maintains full armor and ammunition. A teammate stuck with 45 ammo is a liability, drop a box. If one player has 8 plates and another has zero, top them up immediately. This seems basic, but most casual squads bleed because someone’s running light.
Coordinate pushes carefully. One player holds an angle, anchoring the position while others flank. That anchor takes pressure, calls enemies’ directions, and swaps angles if flanks get hard. Meanwhile, flankers collapse from unexpected angles. When reviving teammates, clear threats or smoke off angles first, rushing a revive into active gunfire feeds the enemy more kills.
Take fights methodically. If your squad has superior positioning or numbers, push. If you’re outgunned or caught in the open, kite toward cover, reset, and re-engage from power positions. Many newer players panic-push and get 1v4’d. Veterans trade damage, reset, and leverage their squad’s collective firepower. Patience beats panic.
Recent esports coverage of competitive Warzone shows top squads maintain near-perfect positioning discipline, they rotate before enemies expect it, they share resources obsessively, and they communicate in 2–3 word callouts. That’s the standard you’re aiming for.
Conclusion
Dominating Warzone 2 boils down to five fundamentals: master weapon balance through consistent loadout testing, control map positioning by understanding high-ground and rotation timing, land in zones aligned with your squad’s skill level, execute coordinated pushes with defined roles, and maintain crisp communication. The meta shifts with patches, check season updates on major platforms, but these core principles hold indefinitely. Drop in, learn from each loss, and keep grinding toward that Victory Royale.